
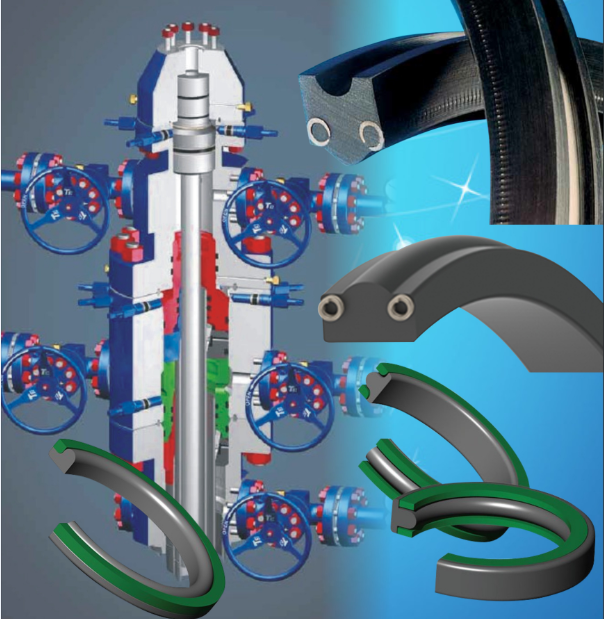


Valves act as "checkpoints" in fluid transport systems, and their sealing performance is crucial. The "heart" of the valve – the sealing ring – is the key to ensuring a tight, leak-free seal. Whether it's a faucet in your home, a water heater valve, or various pipeline valves in industrial settings, once the sealing ring ages or becomes damaged, it can lead to dripping and leakage. This not only wastes resources but can also pose safety hazards. Therefore, mastering the skill of replacing valve sealing rings is a highly practical DIY ability. This article will provide a detailed step-by-step guide to the entire process of replacing a valve sealing ring.
Step One: Accurate Diagnosis, Identifying the "Problem"
Before starting, you must first confirm that the problem is indeed with the sealing ring. Common symptoms include:
- Stem Leakage: When the valve is in the closed position, fluid (water, gas, etc.) seeps out around the valve stem (the shaft that rotates the handwheel). This is the most common sign of seal failure.
- Failure to Seal Properly: Even when the valve is fully closed, fluid continues to flow downstream. This could be related to either the valve seat sealing surface or the sealing ring, but it's often the internal seal that is damaged.
- Stiff or Loose Operation: The valve handle is unusually difficult to turn or feels excessively loose. This may indicate that the sealing ring is worn, deformed, or incorrectly installed.
Key Tip: Be absolutely sure the leak is from the valve you are repairing, and not from a pipe weld or threaded connection attached to it.
Step Two: Thorough Preparation, Gathering Your "Tools"
"Success depends upon previous preparation." Thorough preparation is essential before replacing the sealing ring:
-
Safety First:
- Cut Off the Medium Source: Close the upstream main valve or system master valve. For example, when replacing a household water valve, be sure to close the main water valve near the water meter outside.
- Release Pressure: Open the valve you need to repair and any downstream faucets to completely release any residual fluid and pressure from the pipeline.
- Prepare a Drain Pan and Towels: Even after closing the main valve, there may still be water remaining in the pipes and equipment.
- Wear Protective Equipment: Such as gloves and safety goggles, especially when dealing with high-temperature, corrosive, or high-pressure media.
-
Tools and Materials:
- Basic Tools: Adjustable wrenches, socket wrenches, screwdrivers, hex keys, etc. (depending on the valve type).
- Specialized Tools: For some valves, a valve cover puller or special fixture might be required.
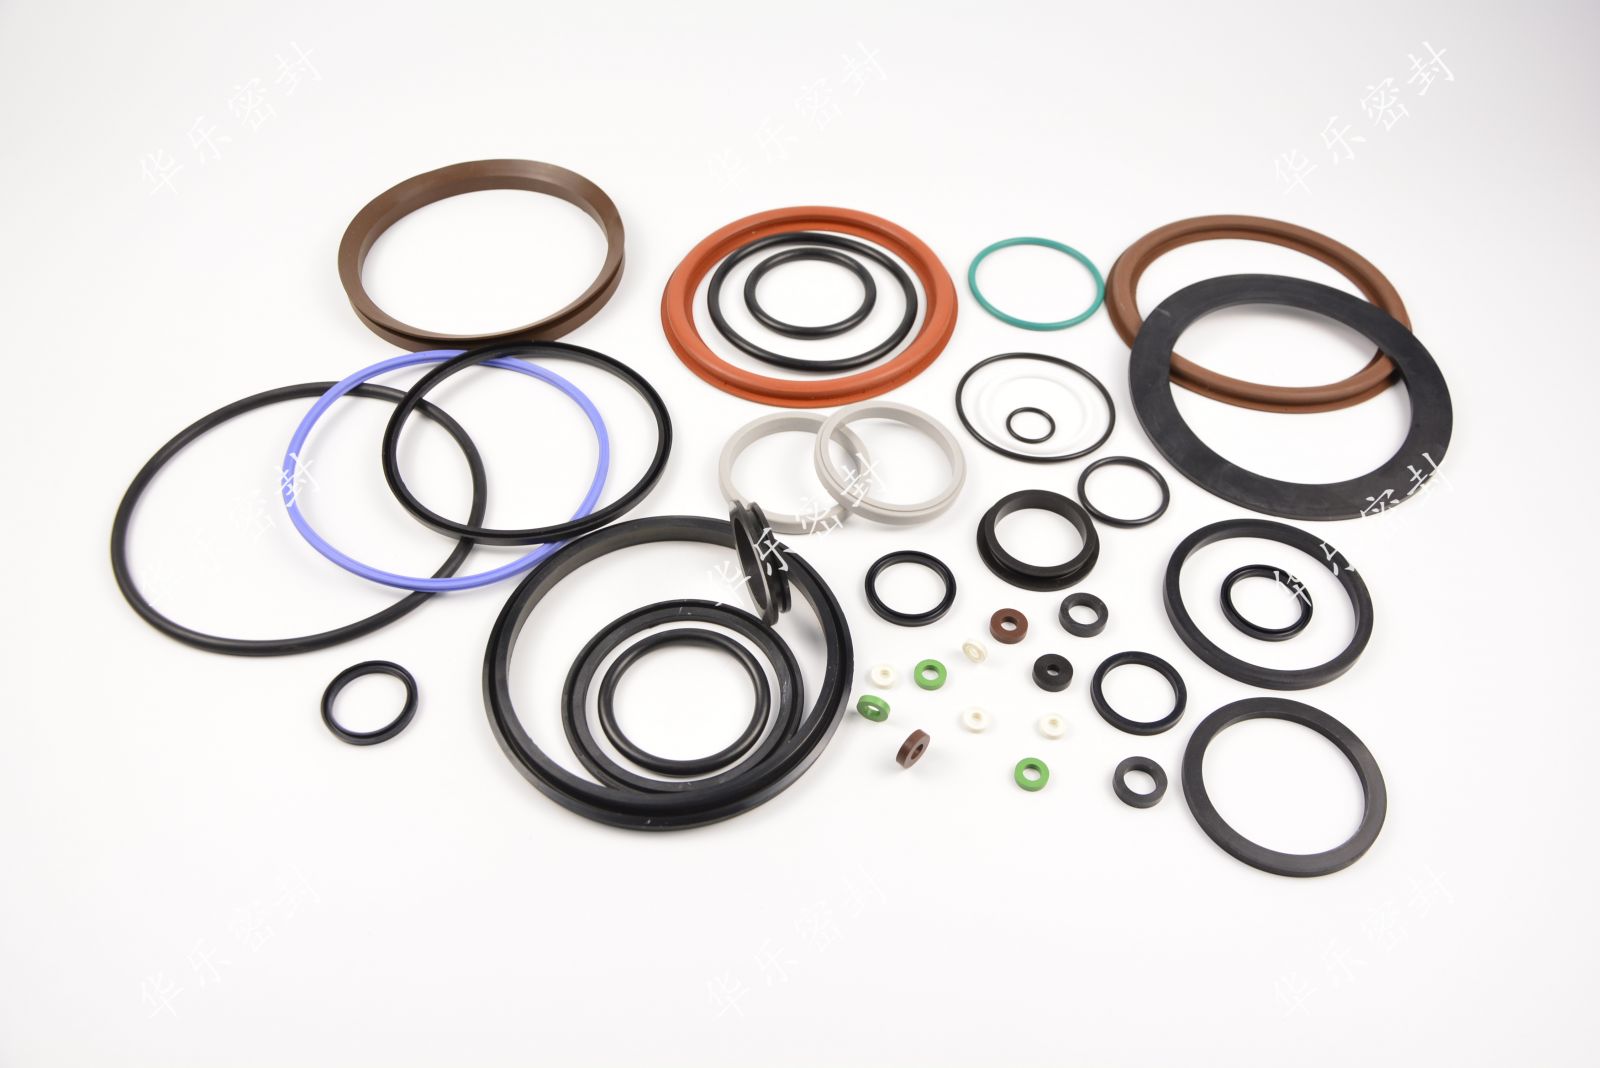
- New Sealing Ring: This is the core component! It is essential to determine the specification and material of the old sealing ring. It's best to remove the old ring and take it to a hardware store for comparison to ensure the dimensions (inner diameter, outer diameter, cross-section), shape (O-ring, V-ring, flat gasket, etc.), and material (Nitrile rubber, Fluorocarbon, PTFE, etc.) are an exact match.
- Auxiliary Materials: Lubricant (e.g., silicone grease, compatible with the seal material and the medium being transported), thread seal tape, pipe sealant, cleaning cloths, rust penetrant (e.g., WD-40, for stuck screws).
Step Three: Step-by-Step Procedure, Performing the "Surgery"
The following are general steps for replacing seals in common valves. Details may vary slightly for different valve types.
-
Disassemble the Valve Cover/ Gland Nut:
- Use the appropriate tool to slowly loosen the nut securing the valve cover or gland by turning it counterclockwise. If it's rusted shut, apply a small amount of rust penetrant and tap gently to vibrate it. Wait for it to penetrate before trying again.
- Note: Before completely unscrewing it, hold the last few threads steady by hand to prevent internal springs or components from popping out due to any residual pressure.
-
Remove the Valve Stem/Old Sealing Ring:
- Carefully remove the entire valve stem assembly from the valve body.
- Observe the structure on the valve stem. The old sealing ring is usually located in a specific groove on the stem, or it may consist of multiple sets of packing rings housed within a chamber called the "stuffing box."
- Use a hook pick, a small screwdriver, or other fine-pointed tools to carefully pry out the old sealing ring. Be very gentle to avoid scratching the metal surfaces of the valve stem and the valve body interior.
-
Cleaning and Inspection:
- Thoroughly clean the grooves on the valve stem and the stuffing box inside the valve body using a cleaning cloth and a brush. Ensure all old sealing material, dirt, and rust are completely removed.
- Carefully inspect the valve stem surface for significant wear, scratches, or corrosion. If the valve stem is damaged, even a new sealing ring will not last long. In this case, consider replacing the entire valve or the valve stem.
-
Install the New Sealing Ring:
- Lubrication: Apply a uniform layer of compatible lubricant to the new sealing ring. This not only facilitates installation and prevents the seal from twisting or cutting but also provides protection during initial operation.
- Correct Installation: Manually slide the sealing ring smoothly into the valve stem groove or stuffing box. Ensure it is fully seated without any twisting, flipping, or pinching. For V-rings or lip seals, pay attention to the installation direction (usually the lip faces the pressure source side). If installing multiple sets of packing rings, stagger the joints by 90 or 180 degrees.
-
Reassembly and Tightening:
- Carefully reinsert the valve stem into the valve body, aligning the valve disc with the seat.
- Screw on the valve cover or gland nut. First, tighten it by hand, then use a tool to tighten it evenly and symmetrically. Avoid over-tightening! Over-tightening will drastically increase the operating torque, accelerate seal wear, and can even crush the seal, causing immediate failure. The correct approach is to tighten until the leakage just stops.
Step Four: Comprehensive Testing, Verifying "Success"
- Restore the System: Slowly open the main valve that was previously closed.
- Initial Inspection: With the repaired valve in the closed position, carefully observe the seal points you just worked on for any signs of leakage.
- Operational Test: Slowly open and close the valve several times. Feel whether the operation is smooth, and check again for any leakage during the opening/closing process and at various open positions.
- Continuous Observation: For the first few hours after the system is back in operation, check periodically to ensure everything is secure.
Summary
Replacing a valve sealing ring is a meticulous task that requires clear thinking, patience, and a methodical approach. Through accurate diagnosis, thorough preparation, standardized procedures, and strict testing, you can completely undertake this repair task yourself, giving a "sick" valve a new lease on life and ensuring the safe and stable operation of the system. If you are unsure of your ability, or if the valve is in a critical, high-pressure, or high-risk application, be sure to seek professional assistance.


